I decided to make a Congratulations Dr. Vet present for Nikki and got inspired by this pillow I saw on Fab.com. But come on...she's going to be making the big bucks here, not me so I decided to make one of my own!! I mean, seriously, can you get more perfect decor for a veterinarian? I'm hoping she likes this pillow and lets me decorate her waiting room one day.
Here's my version. I think it turned out pretty well. I've included a tutorial below so you can read on or not.

Cone of Shame Tutorial:
First Step, find a dog! The Fab one looks like a dachsund but after googling some silhouettes, all of the dachsunds looked sick or weird. Nikki's dog is part maltese and part beagle, so I changed my search to beagle silhouettes and found a great one. Print it out as big as you want. I wanted it pretty big so I opened up the picture in excel and printed from there. That created a 4 page puzzle I just had to cut out and piece together with some tape.

I used felt for the dog and the cone. That way I didn't have to mess with hemming it and also didn't have to worry about the edges fraying. Use a silver sharpie or light colored pen and trace out your shape on the back of your felt. Before you do this step, figure out which way you want your dog facing on the pillow. Trace your dog facing the opposite way on the felt so when you cut it out, you can flip it and it won't show your sharpie marks. Then cut that pooch out! Use sharp scissors or short strokes so the felt doesn't stretch or warp.


Try it on your dog and make sure the scale is right. A chihuahua will wear a different size then a great dane so scale appropriately.

Now you need to cut out your pillow pieces. Nikki had some old pillows she wasn't crazy about so she gave them to me to re-cover. I took the cover off and used it as my guide so I could get the same size. I also ran an iron over my fabric after cutting out the pieces so my finished pillow wasn't wrinkled.

Now, it's time to whip out your sewing machine. I would definitely recommend pinning your dog down. My pillow fabric was slippery and the felt doesn't give much so it's very easy for your shape to get crooked if it's not pinned down. When you place your pup, give enough room around the edges of the pillow to account for the seams of the pillow. At least 1 inch from the edge should do it, but give it more if you don't want it starting right at the edge of your pillow.
Also, you'll want to go ahead and place the small sliver of the back of your cone behind the dog's head. You'll just sew right over it, but test out the angle with the other piece of the cone when you pin it down to make sure it's how you want it. Also, make sure your thread matches your dog or you'll see your stitch line all the way around.


Now, change your thread to match the color of your cone and pin the top of your cone into place. You'll want to overlap it with the back sliver just barely. This makes it connect and also gives it a 3-D look.

Then just sew around the edges of the cone. Go all the way around the front piece of your cone and along the edges of the back piece. Every edge of white should be sewn down.
Now, get the other side of your pillow and put the front sides together, pin around the entire pillow and sew. Leave a 4-5 inch gap on one side for your stuffing. I did two rows of stitching around the edge of the pillow for extra stability. Here's my finished pillow cover after sewing and turning the pillow right-side-out.

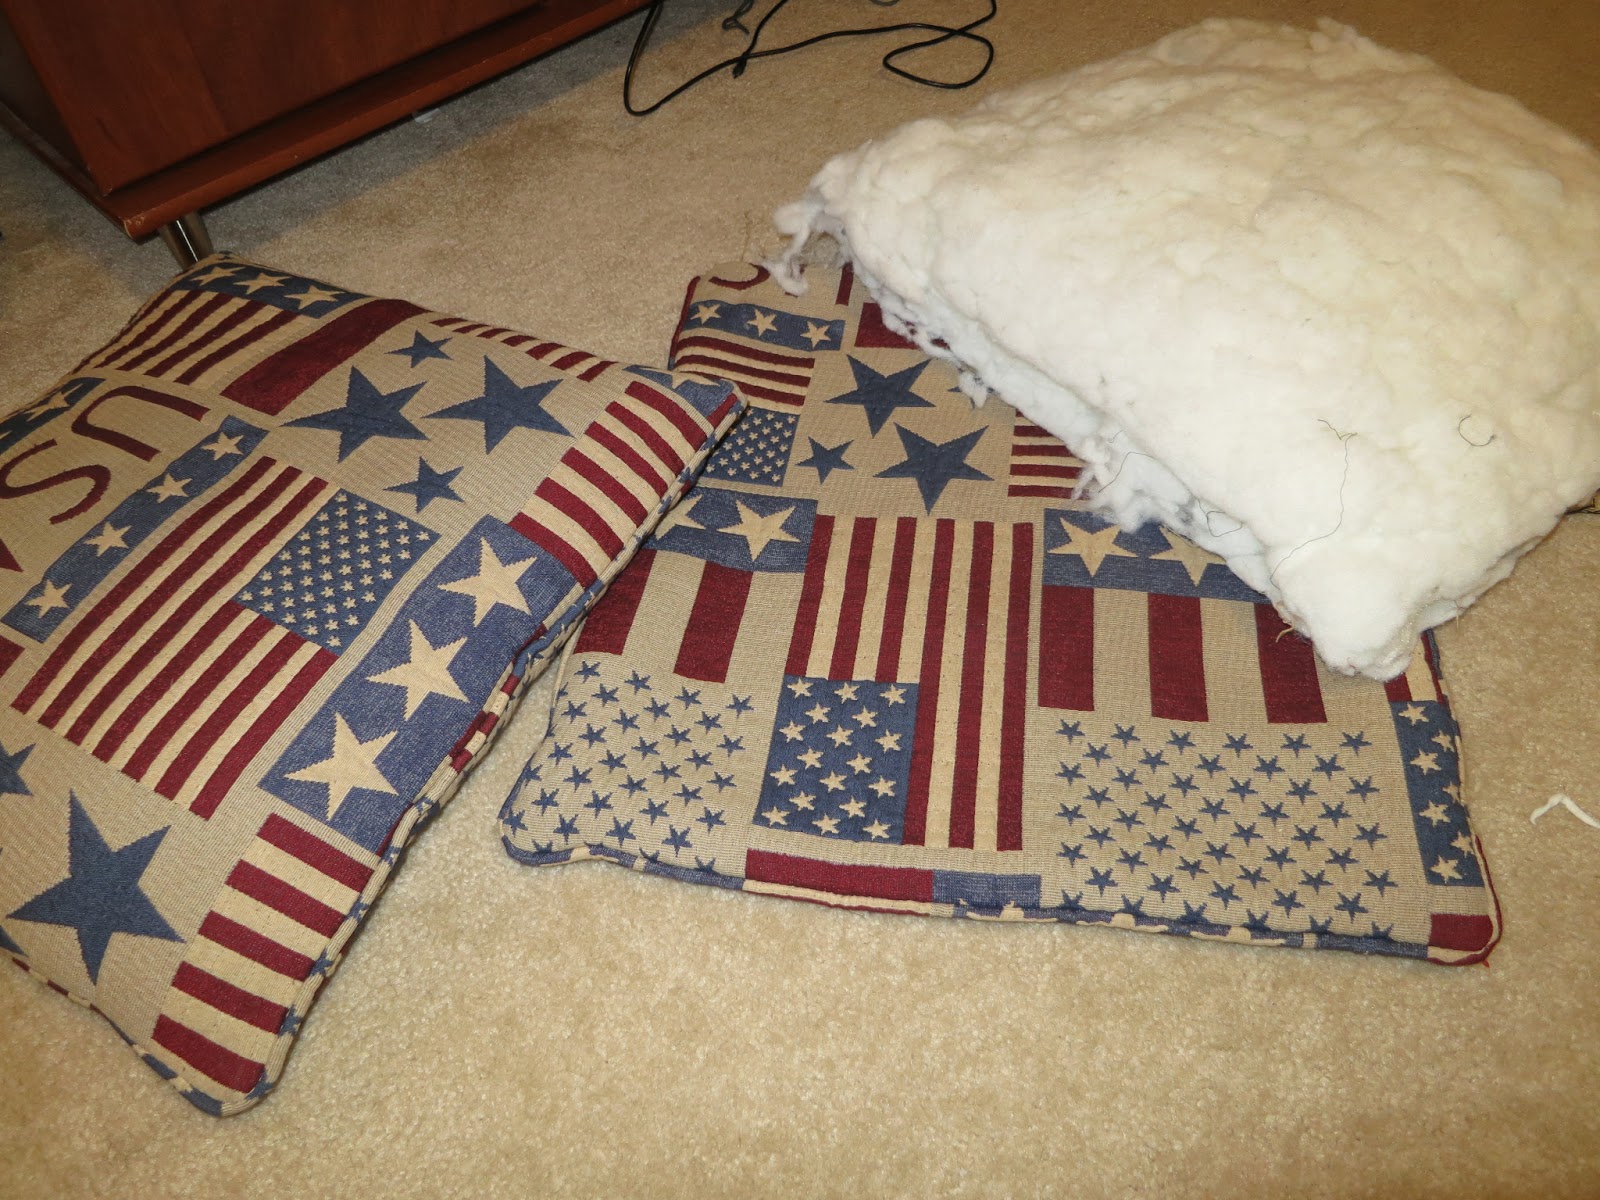
Here are the old pillows and the stuffing I was re-using. You could also use new batting or an already made pillow.
Stuff that pillow up and beat it flat! Mine was super lumpy so it took some extra beating to get it normal-ish. The last step is hand sewing the gap that you left in the bottom to insert the stuffing. It was at this point that I realized I don't have a hand sewing needle!!! I can't believe it! I was so anxious to finish, I ended up sewing it on the machine and it actually turned out really great, so if you do it that way, it can work! I didn't take a picture of it though....It's just a boring seam.
Anyways, here is the final product again! I'm so pleased with how it turned out and I can't wait to give it to Nikki! I hope she loves it. Now I need to try to figure out how to do our pup Crosby!

Too cute!
ReplyDeleteGreat job and Congratulations Nikki!!
ReplyDelete