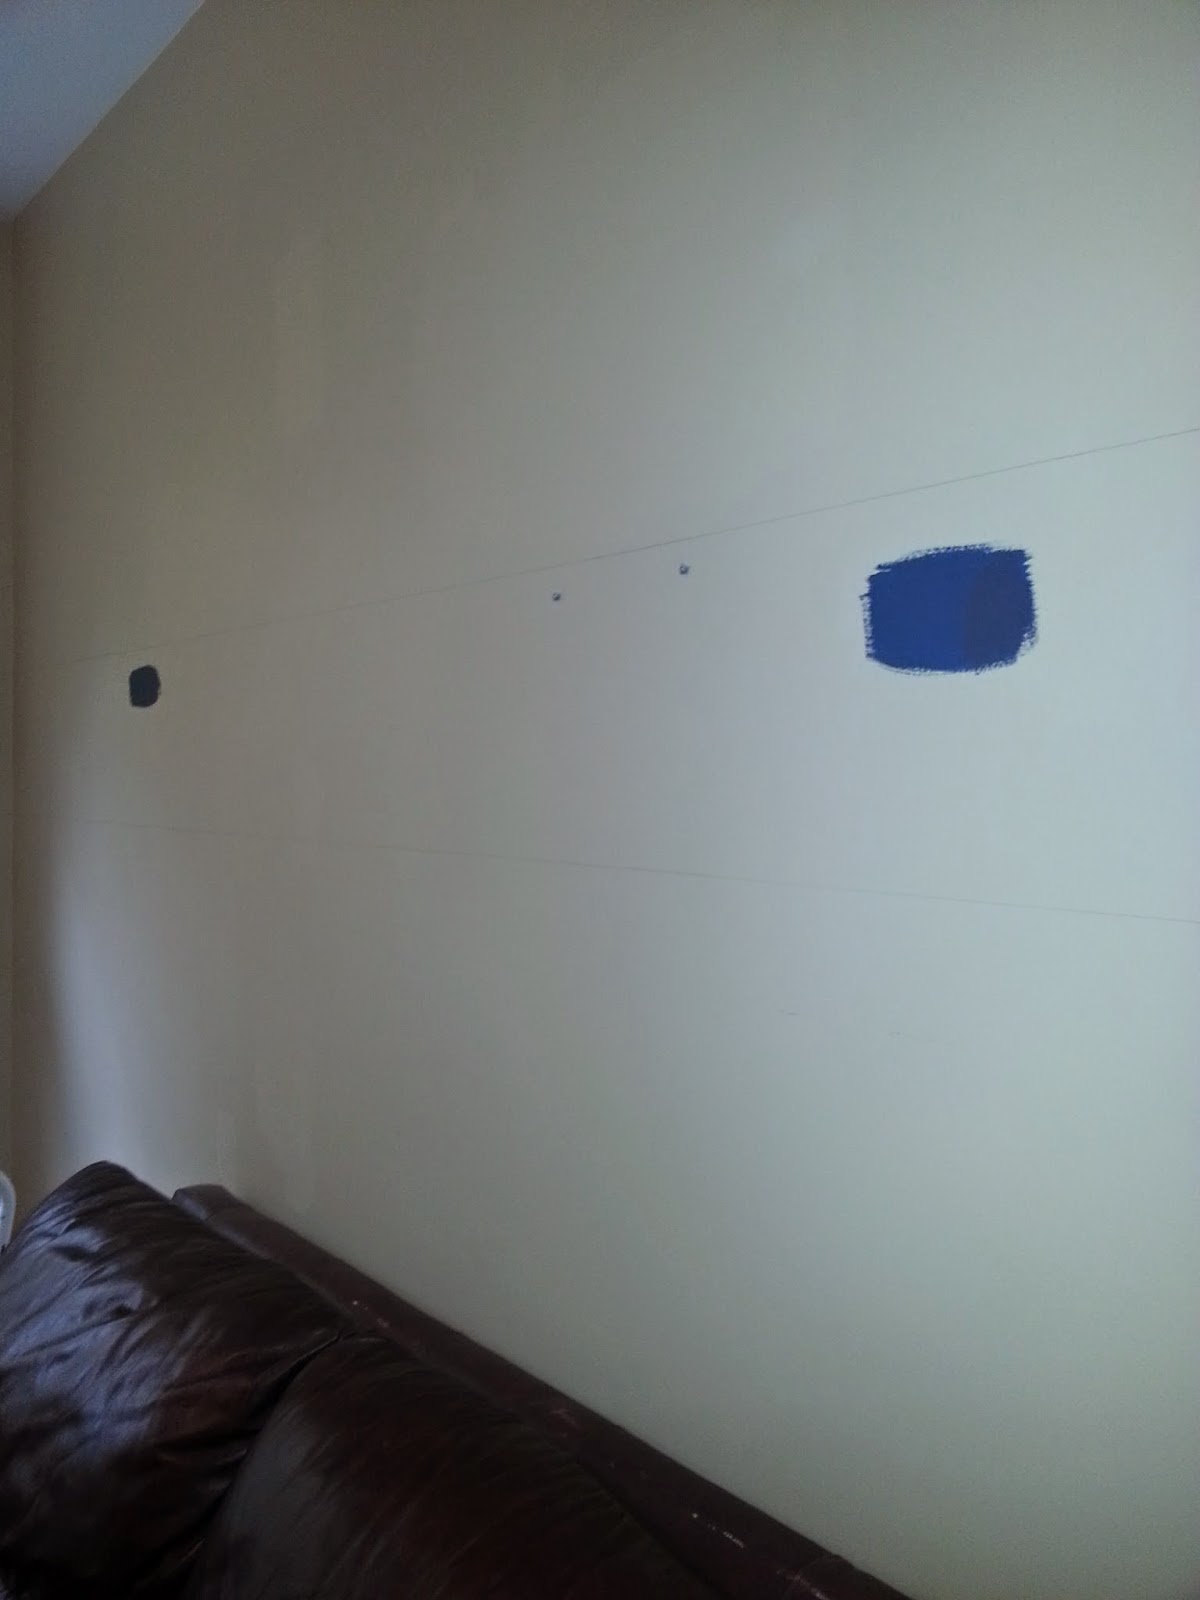
Here's the before as seen on moving day. It pretty much looks exactly like this now except the TV is bigger. The mess is all still there :) This room is upstairs and is lofted over our foyer. The walls are one of the four shades of brown you will currently find in the house and unfortunately we can never paint this room unless we want to paint the entire foyer as well. It's OK though cause I don't hate the color....I just wanted a little pizzazz. Hence the stripe idea.

I figured if we started the stripe at the bedroom door and carried it around to the corner where the loft starts it would look intentional and like a natural starting and ending point for the stripe. I had a heck of a time choosing a color. I brought home two samples and tested those. Then when I got to Lowes I second guessed myself and randomly picked a color I'd heard was popular. It's a navy blue that they color matched online. Derrick was able to go all over the store and get everything else we needed before the paint was even mixed and when they gave it to me it was grey. I told them it wasn't right and they told me it was and moved on to the next customer. So I left the paint there and went to Sherwin Williams who got it right on the first try. Then I got home and decided to go back to my original color choice so I had to go back to Sherwin Williams and he said "I must have made a mistake" when I told him I'd changed my mind and gave me my new quart plus let me keep the old quart for free. And I will never go anywhere but Sherwin Williams for paint now. Customer service people!! It pays!!

Then the measuring began and we marked everything with a pencil. You can see where we adjusted lines and we even had to make the line thicker because we totally screwed up one measurement and I couldn't get the pencil off.

Good thing I guessed right when I was deciding where to paint the samples!
Tape tape tape!! Two people helped a lot here because we did one long continuous piece of tape across each wall so I placed the tape and Derrick held the role and pulled it out as we went. Once we got the first stripe done we just measured up from there for the next two stripes. We used green frog tape for the areas that would have paint on either side of them because we wanted the spacing to be consistent and the blue tape was just slightly thinner then the green tape. And it helped us know what was what. Here's the first two stripes taped off.

And all the stripes taped off. You can see it's getting darker outside. We started this around 1:00 and finished everything about 9:00. It was a long day but I'm gad we didn't drag it out any longer. Power through!


Painting time!

We did 3-4 coats (one wall took an extra coat....weirdo) and then pulled back the tape. That was the best feeling in the world because I just knew it was going to look awful and we were going to have a huge disaster on our hand. Instead....we felt like Picasso!!
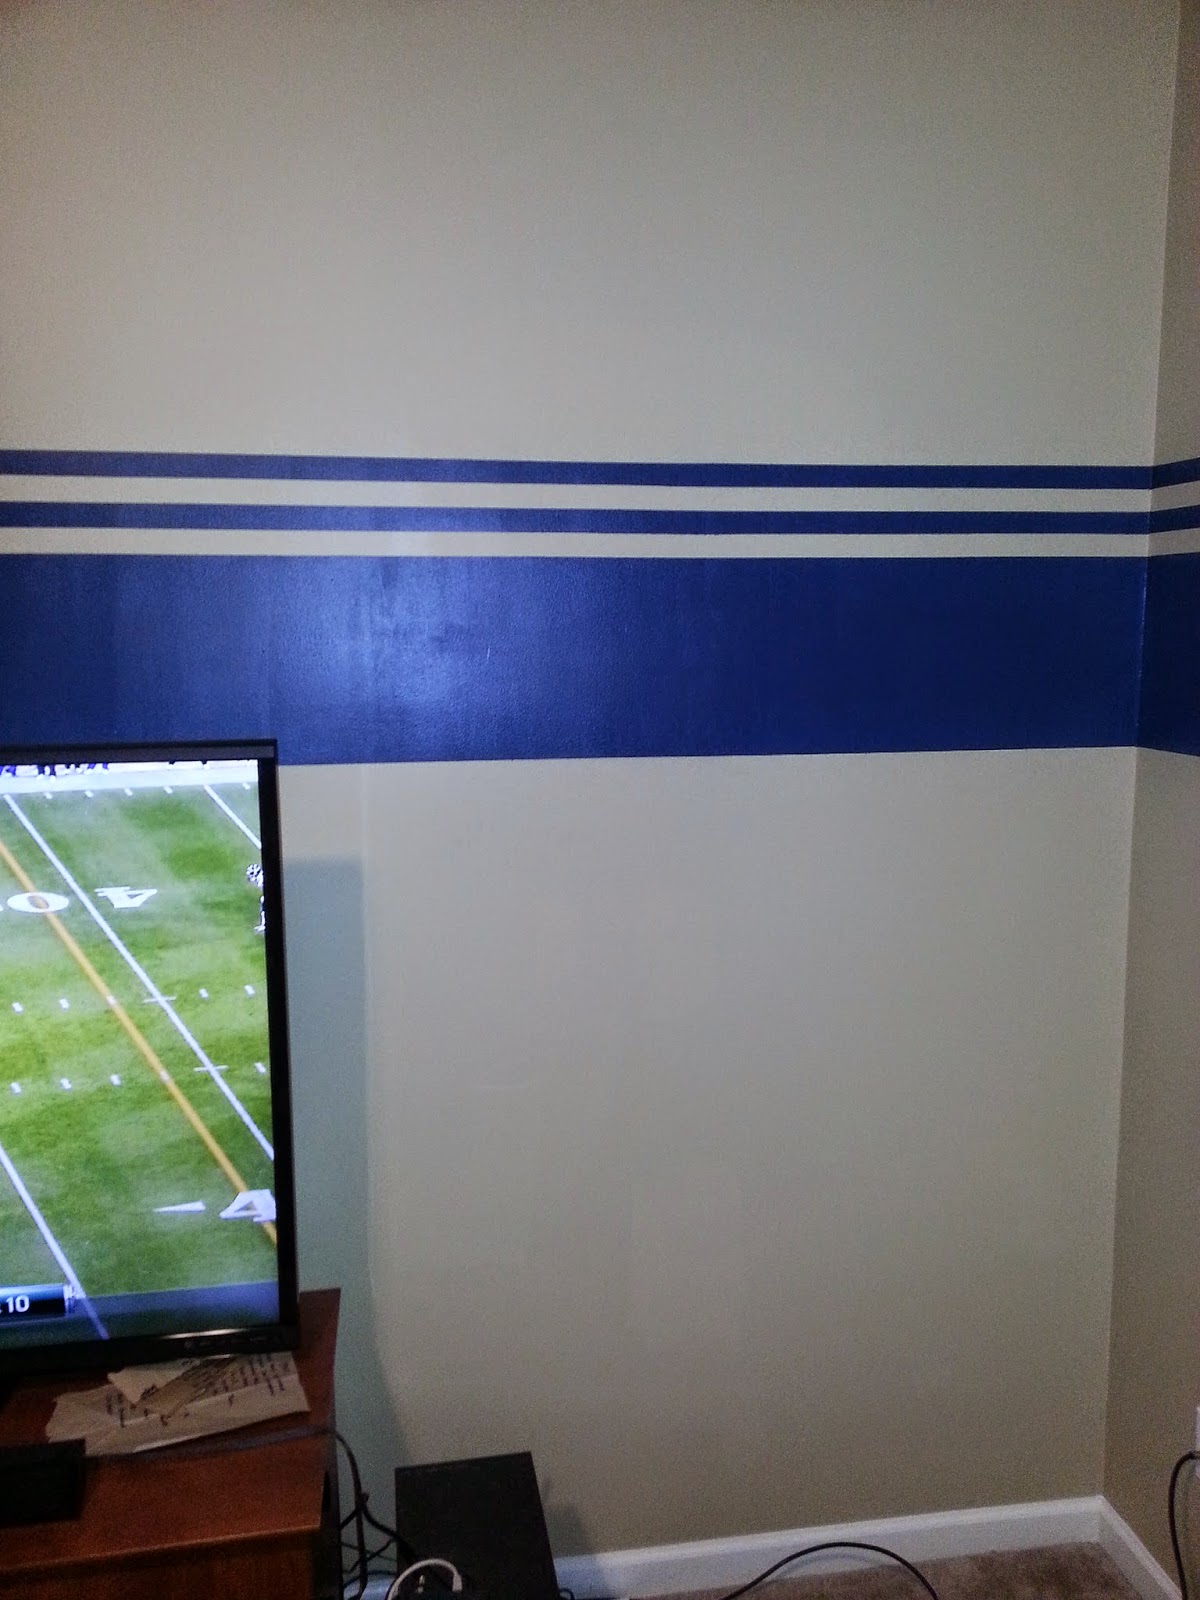
It's a masterpiece!


It looks great! You did a super job!!
ReplyDeleteWow! It really does look great! - Mom
ReplyDelete