If you don't follow the blog Young House Love, you should. I'm obsessed with it. It's this adorable young family that have made a career out of blogging about their home improvements. Well, they recently wrote a book (which I pre-ordered back in July...I did mention I was obsessed, right?) and it inspired me to get a little crafty.
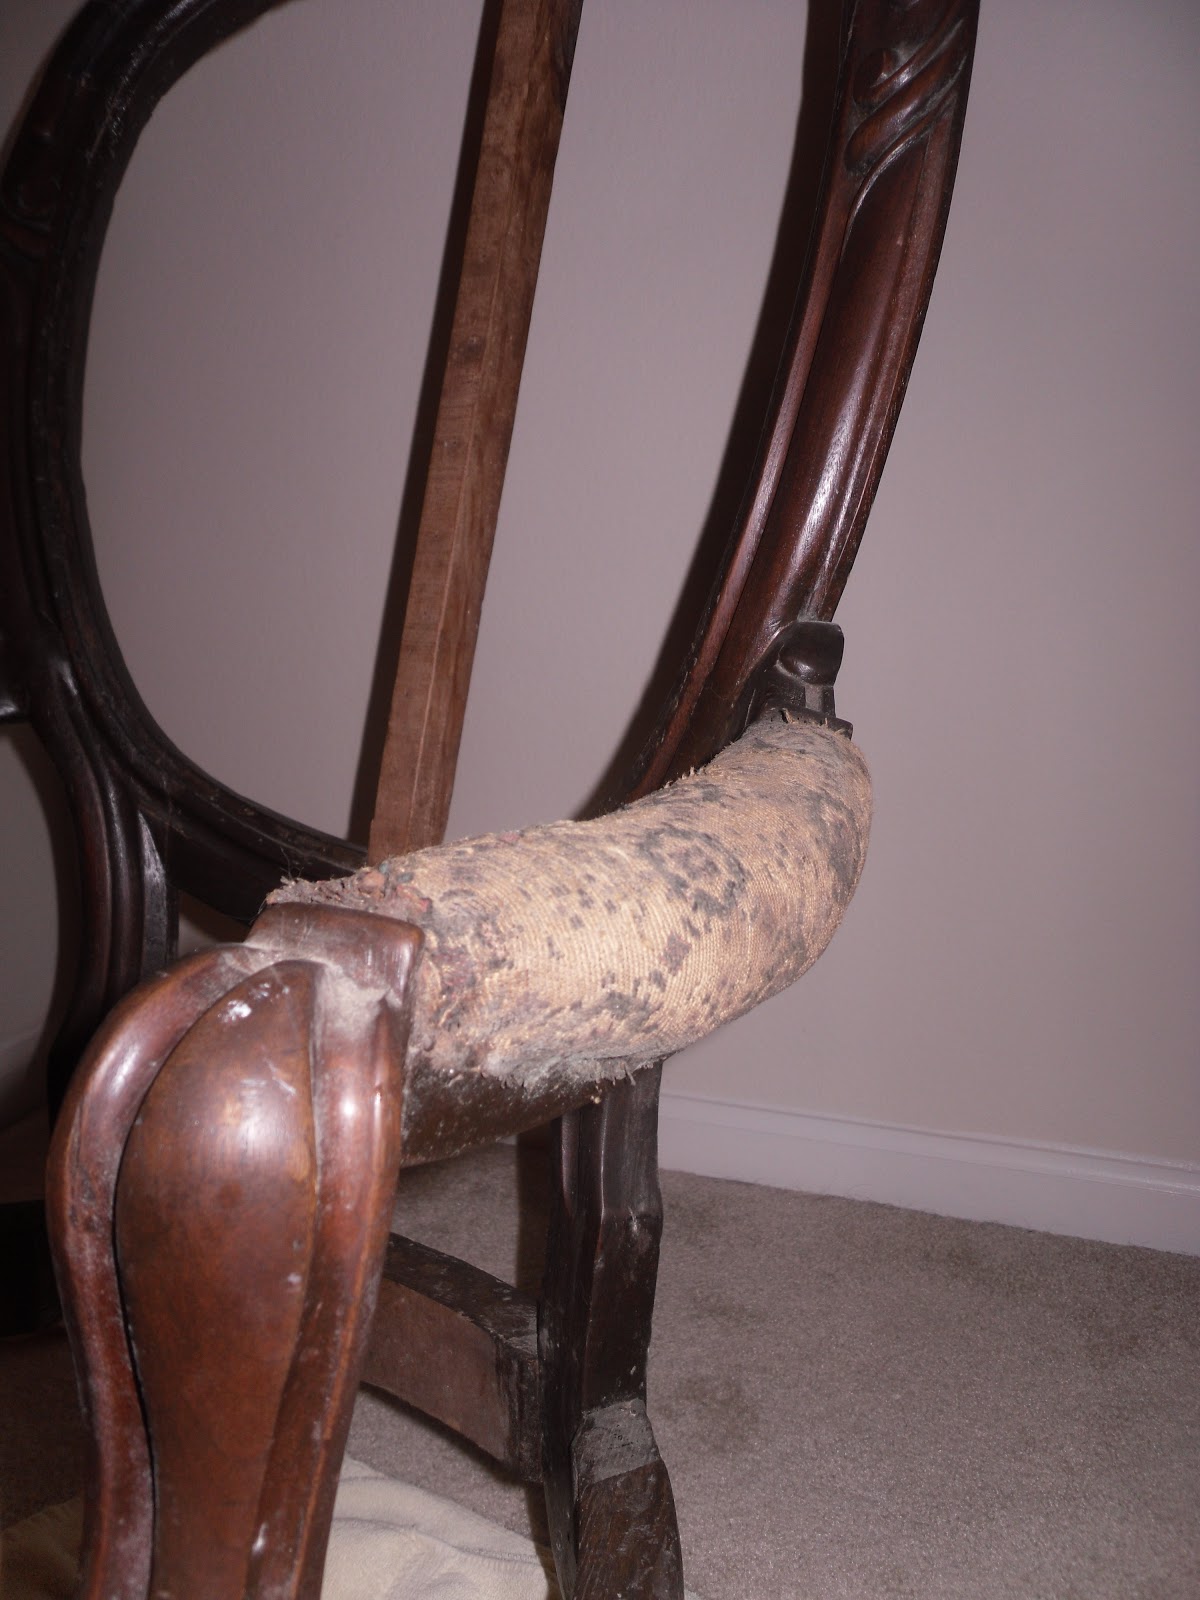
Last Tuesday I found this awesome chair on Craigslist for $25 and I decided I'd give it a whirl and see if I could breathe some new life into it. Thanks to Courtney for going with me to pick it up so I didn't get killed by the Craigslist killer. Looking back now, I probably didn't require her protection as I am confident I could have gotten away from 85 year old Lottie who sold me the chair.
I haggled her down to $20 and took that chair home! Here she is when I got her home!


I started with the back..because my jig saw had to charge for 10 hours! grrr I thought the back was going to be the hardest part. There was absolutely nothing to work with except that support beam. Thanks to google, I discovered jute webbing which is this non-stretchy support fabric. I just stapled about 5 lengths of jute webbing across the back to make it nice and supported. Then I stapled a layer of batting, a layer of muslin, and a layer of my fabric over top. I used the muslin because the fabric that I got isn't upholstery fabric so I wanted to make sure it felt nice and thick and I also wanted to make sure you couldn't see through it.
Here's the progress when I finished that step.


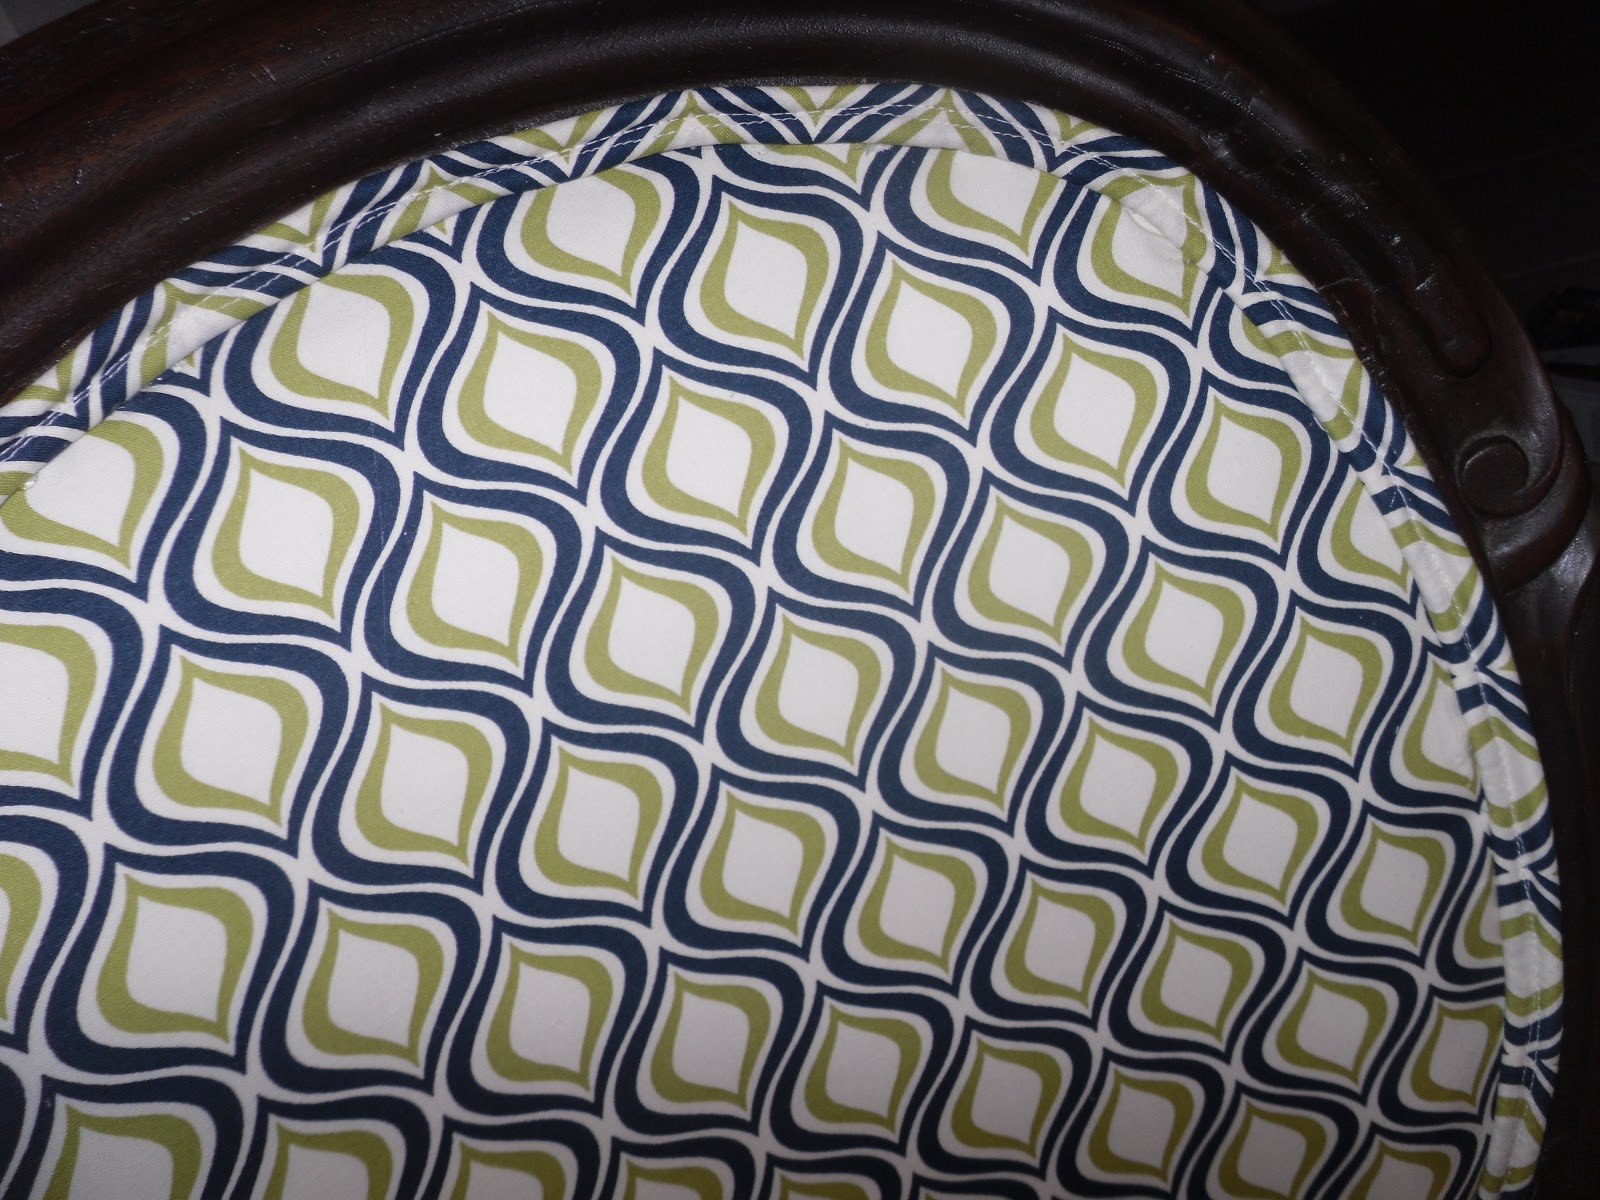
Then I just did the same thing on the front of the chair. This left the edges really raw and totally unfinished looking. That's where the piping came in. Did you know that stuff is just hot glued on?? Every tutorial I found says to hot glue it! Works for me, so I went for it. After making the piping and putting it on, I had this!
Then it was time for the bottom! Oh...and don't think this was an all in one night affair. Derrick and I lived with our apartment looking like this for 4 days.

Sorry, Honey! You're the best :) You can sit in our chair anytime!
Now...the bottom. After my jig saw charged for 10 hours! I suited up. I have never used one of these things before but I understand eye protection is important. As well as a nice, stable work area and appropriate clothing with no dangling earrings....

Check out those clamps with the tags still on... Such a rookie.
After realizing that jig sawing is not appreciated by your neighbors at 10 PM, I put the saw away for another day. The next day, I sawed away! Half way through..the jig saw pooped out. 10 more hours....
I guess that's what I should expect for a $30 power tool.
Next day, I finally got the bottom cut out! No picture...sorry, but see the shape of the bottom below? It's kind of wacko. I did not start my reupholstery debut with an easy project. I went to see if my freshly cut piece of particle board would fit and it.would.not.go.in. Ugh.... 10 more hours. Just kidding! But I did have to charge my jig saw for about 20 more minutes to give it enough juice to make a few adjustments.

Finally! The seat fit and we were in business! Now, I updated Crosby's bed a few months back by removing the squashed bedding and replacing it with nice comfy foam. She hated it. Wouldn't sleep in it. She chose the floor over her bed. So...I stole that foam back! If she didn't like it, I was going to use it. I put two layers of that perfectly comfortable foam on the bottom of my chair, layered batting, muslin, and my fabric over top and stapled that thing so much it was never coming off!
Then I realized the pattern wasn't straight....at all...it was glaringly obvious. So out came allllllllll of those staples.
And I tried again.
Crooked again! Then out came alllll of those staples...ugh.
One last effort and it was good enough! Not perfect...but let's be real. I chose the most difficult chair and an impossible to get straight fabric. I'm just proud to not fall through the bottom when I sit down.
Derrick helped me install some L-brackets so the seat doesn't move around and then....the drill stopped working...needs to charge for 10 hours. Sensing a theme?

Anyways....that was a lot of talk. Here's some before and afters for you. I still need to pipe the bottom of it, but it may sit like this for a while until I buy some more cording. We love how it turned out!


Update: I finally got around to piping the seat portion. Here's a picture of the final chair!!


I Love it! I hope you do too!!!

Impressive!!! You go girl!!!
ReplyDeleteMemaw said she loves it!!
ReplyDeleteI love it and I love your tutorial! So descriptive! Very proud of craft you!
ReplyDelete