So I had grand expectations for my pinterest vision to come to life. I tend to visualize things in a lot of detail in my head and it usually comes out much different then my elaborate day dream. I haven't deemed my pinterest project a complete failure yet...just a work in progress.
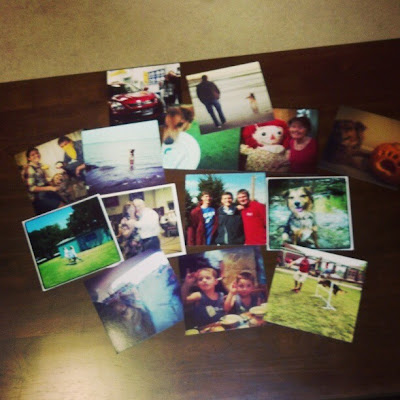
Anyways...so I ordered some of my favorite instagram pictures that I have taken over the last year and had them printed out in 5x5 prints. I would have gone larger but I ordered them from PicPlum and that is the largest they print instagrams. I am trying to brighten up the living room and the picture above the couch was just a little dark. My vision was a bunch of instagram canvases in a grid on the wall above the couch.
It's not crazy...Look at these examples:
Aren't those fun? Super colorful and personal.
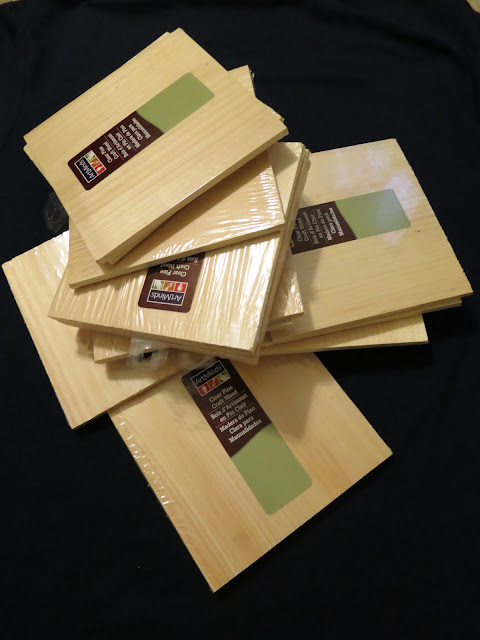
Anyways, so for my take, I was planning on putting my instagrams on 5x5 canvases and mounting those on the wall. Well, do you know a 5x5 canvas is almost $6 at Michaels? And I had 16 pictures!! That's almost $100 just on the canvas. I explored the options of frames and various mats, but everything was super pricey. Then I stumbled upon these babies:
These are 6x6 wood squares on clearance for $0.94 a piece. And they had exactly 16. Jackpot!
So I stuffed them into my basket and raced home! I knew I didn't want the wood grain backing the pictures so I pulled out some white craft paint I had at home and painted the outer edge of each piece. I didn't have to paint the whole thing because my pictures would cover most of it.
I let those dry for a day and then I put the hooks on the back. These boards are extremely light-weight so I knew I didn't need anything heavy duty. I found some of these hooks at Michaels and knew they would do the trick.
Another happy coincidence was that my L-whatever it is was exactly 6 inches! I just squared it up with the bottom of the block and made a dot at the 3.
Then, just push in your hook where you made the dot. Easy! You can kind of tell in this picture that I played around with painting the edges yellow but I ended up not liking how it was looking so I stopped.
Then came the Mod Podge. All it took was a layer of Mod Podge directly on the front surface of the wood, a layer on the back of the picture, and a layer over both combined. It drys clear and the picture is stuck!
Then I had to figure out wall placement. This was the hardest part and ultimately the part that I'm not completely happy with. Derrick and I played around with 5x5 paper squares and even thought about a funky pattern like this.
But I worried the pattern, combined with the colorful instagrams would be too busy looking. So, I whipped out my L-whatever it is and taped a million pieces of paper together to make a template. A level and good measurements are your best friend for this part.
This method is great because once you finally get the template made, you just nail right through the paper and pull the paper down once all the nails are in place. The nails stay and the paper comes off leaving you with nails exactly where you needed them. Then, just hang those pictures!
I can't decide what's wrong with it but something is not right. I think they are spaced to far from each other and there aren't enough of them. The annoying part of that is having to make the template again though. I'm not sure...I'm just not loving it. Also, can you see in the bottom row the one that I faked? Turns out I either only ordered 14 pictures or I lost 2. We needed 15 for the grid so I just taped a picture onto one of the pieces of wood until I order another instagram.
Anyways, I still love the idea of this project, it just hasn't turned out like I envisioned it. I have a couple ideas to fix it but we'll just have to see. Derrick likes it so I'll probably leave it for a while.
At least I finally completed one of these things!


