Wednesday, September 7, 2016

7 Years of Bad Luck

The guest room and guest bathroom are getting a makeover this week. We're not doing a full gut of the bathroom by any means but I am refreshing the towel bars, toilet paper holder, and mirror to give it a less builder basic look. 


When  I was first looking at the mirror I found it had these spring clips at the top.


They seemed simple enough, just lift them up to release the mirror and it should come right out. Should....that's what I thought so I didn't think anymore about it until it was time to paint the bathroom and the mirror needed to come down.


I could not get the mirror to budge out of the clips at all. So...I did some googling and found it was most likely both glued and clipped into place. The options were to try to slowly shim it free and still have a good chance of it breaking, or to just break it.

Is it still 7 years of bad luck if you intentionally break a mirror?

I texted Derrick to both make sure it was OK with him that I went ahead and destroyed it and to also make sure he knew what I was doing in case I called him later and needed to go to the E.R. Also, if he felt the need to be home when I was attempting this I wanted to give him that chance. He trusts me and gave me the go ahead with the promise that I'd text him when I was done!

There aren't a lot of google sources for breaking a mirror safely so I watched a few videos and pieced together my plan.

First I taped the mirror. The idea here is to keep the glass from flying everywhere after it's shattered. In hind sight, I'd probably tape it even more than this next time.


Then I changed into full sweats, closed toes shoes, and gloves.


Hood up, goggles on, I was ready!


Then I took my hammer, turned my head away, and smashed my hammer into the middle of the mirror where the tape overlapped.

Nothing happened. It was just loud, no shatter. I hit the mirror 8 times before it broke! On the eighth time I really hit it as hard as I could. I thought I was hitting it hard before but I totally underestimated how hard I was going to have to whack it to break it. You really have to get some muscle behind it.

In the end, it worked!


I have a few tips in hind sight.

1. Lay a cloth or drop cloth down under the mirror to make picking up the glass shards easier and to also protect your sink. I think our sink is OK but it also has a few new marks on the edges.
2. Close the floor vents in the room...I thought I had but I hadn't and I'm sure some glass went down the vent.
3. Close your sink drain. I thankfully thought ahead and did that.
4. Have your vacuum close by and ready. I had to carefully slip out of my shoes, get the vacuum, and come back and put my shoes back on to clean it all up.


Also, don't take your sweatsuit off until after the mirror is totally down. I did not do this. Thankfully I came away cut free but I was wishing I had my suit on. The mirror stayed standing in the clips and once I removed those big pieces in the clips the whole thing came shattering down everywhere. That was a little scary. Luckily I could tell it was going to happen so positioned myself and was prepared but it was so loud and glass flew everywhere. Goggles are key and I left those on even through the vacuuming.

Here is a closer look at those bottom clips. Helpful that the screw is UNDER the mirror.....NOT! I suppose if it hadn't been glued the clips would have been a good idea.


For the glass, I ended up taping up all the seams in a cardboard box and dumping the shards in there. You can see that there were still some pretty big pieces to deal with but there were also so many tiny little slivers. I vacuumed for a good 20 minutes and the bathroom is really tiny. I vacuumed out the sink, the tub, in all the individual grout lines of the floor, and I went over the whole floor several times. Then I used hands to go over the floor again to find any stray pieces and then I vacuumed again. I've been in there barefoot painting it today and haven't picked up any glass so I think we're good!


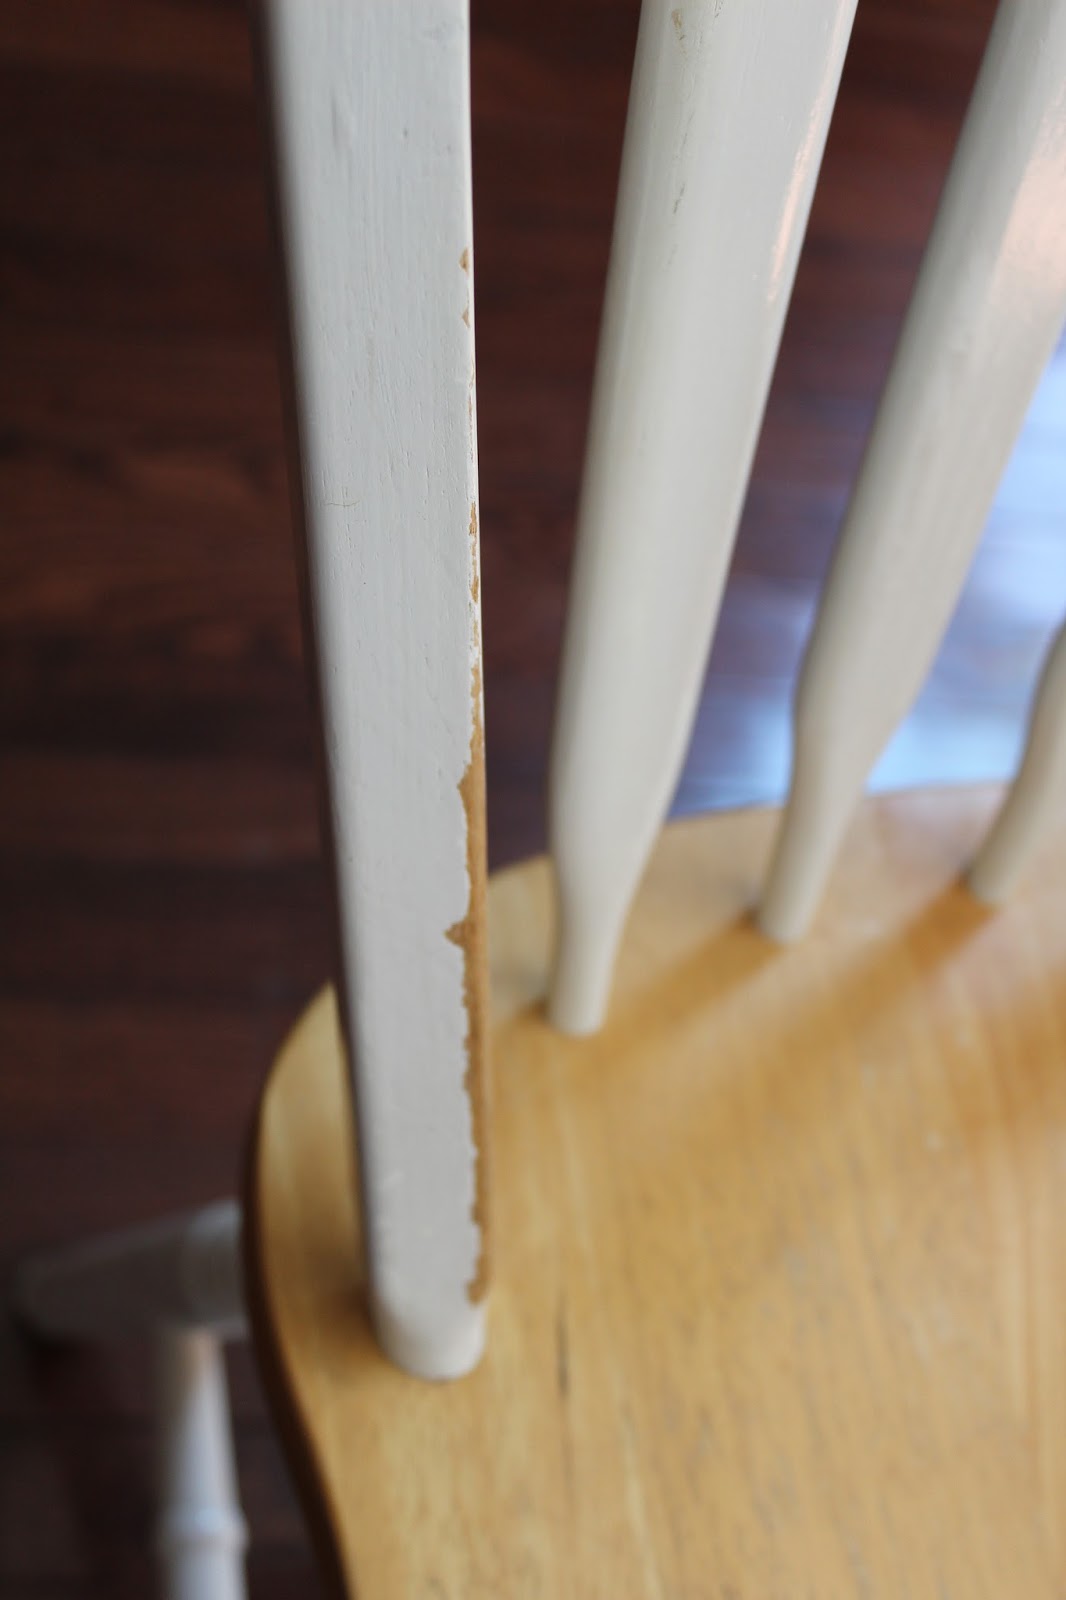
You can see where it was glued and took some drywall with it. Those had to get spackled and sanded before painting.


This was a fun one! Kind of scary but a little bit of an adrenaline rush and I'm so excited to get the builder mirror off the wall with no chance of return! Now I need to find the perfect replacement! The guest room itself turned a corner today too and is looking good. There is still a super long way to go but I'm excited!


Thursday, September 1, 2016

Toro = State Champs!

**All photo credit in this post goes to Doug Wilson**

Last weekend we had sectionals for our club team Toro. The series is what teams work for all season long and sectionals is the first tournament in that series on the road to nationals. We were able to enjoy a really short and sweet sectionals with only three games on Saturday and finals on Sunday morning. 


Sectionals was in Charlotte so we were able to stay with CK and Irene which was so nice! We haven't visited them since they moved to Charlotte. We were at the fields for most of the day Saturday and Sunday but it was nice to spend Saturday evening with them, catching up and playing games.


We came in seeded #2 overall so on Saturday we only had three games against the other three teams in our pool. We were able to win most of those games with a nice margin so it left us fresh for finals first thing Sunday morning.


I don't typically lay out on defense but I tried here! This was in finals against Storm. June still caught this one but I think I scared her a little bit at least :)


Storm is a big rival of ours. They've beat us twice in the past but the last time we played it was double game point. This time we went up quickly but there was some back and forth in the second half that brought us to double game point again. This time we were able to close it out and take the State Champs title.


Regionals is in two weeks in Atlanta so we've got three more practices to prepare! 

Monday, August 29, 2016

Derrick's Choice

Derrick doesn't have too much of an opinion on what I do around the house. He typically lets me do whatever I want and is happy with how it turns out. I always try to ask him though, just in case. In the case of the kitchen chairs Derrick actually did have an opinion!


Derrick liked the coral so coral it was! I painted the two remaining chairs and left the one blue just to see if I liked the mis-matched look. Alison and I called it the libero. I actually kind of liked the libero look but I really didn't want it looking to busy or artsy-crafty and it felt that way a little bit to me so the libero is now outside matching its friends and drying in the sun.


The other three are in the driveway after getting coated with a few coats of polyurethane. Thank goodness for spray poly making that job so much quicker and easier with all of those spindles.

I had a near miss earlier today when I almost forgot they were in the driveway.....oops! Luckily I remembered just in time.


I am loving the pop of color and the freshness they bring to this side of the kitchen. It's making me want to refinish that kitchen table though. One thing always leads to another!


Thursday, August 25, 2016

Kitchen Chairs--I need your help!

I'm clearly shameless when it comes to taking hand-me downs and free furniture though I try to limit it to things we will actually use in our house. Both of our guest beds were from friends that didn't have space for them, my desk was bought off a friend, and our living room couch and dining room set were from family. When our friends, Rebecca and Michael, moved into their apartment, they offered us their kitchen chairs before they took them to Goodwill. Our old kitchen chairs are awesome but they've started to break and the cloth just wasn't super durable. I think they'll need to see an upholsterer at some point but I was happy to take these off of Michael and Rebecca's hands for a more durable option for the time being.


They were a little worn so it's always been my plan to paint them.


Originally I was thinking I'd go all yellow but recently I thought I'd try the dipped look. I was planning on yellow until I went to Lowes today and switched it up. I started with a primer/paint in one spray paint. There was no way I was hand painting all those spindles. I didn't sand before hand and I may regret that but I'm not going for perfection here. These chairs are going to get used and I don't want people worried about dinging them up. It happens.


Here is where I need your help! Blue??


Or Coral? Dang...this didn't photograph well. It's a deep color but this is looking red in this picture.


And do you even like the paint treatment? Maybe it's just a bad idea... what do you think? It seems I'm always drawn to blue but I'm a little worried this looks way to matchy-matchy with the curtains...or maybe it looks intentional?


We also have the blue bar stools which are basically the same blue color. Man....the coral doesn't photograph well...


I could also have two of each which could be super fun! I don't know, I need your help!

Ok..hit me! What do you think? I've got two more chairs that have already been sprayed white and are just waiting for a decision.

Wednesday, August 24, 2016

Dressing up the Dresser

I painted the dresser in our foyer a couple months ago. I have really liked the black but I have not been a fan of the valspar chalk paint.  If I try chalk paint again I'll spend a little more on the Annie Sloan stuff because the Valspar was very hard to work with and is still chippy 3 months later.


I was imagining super long handles but the pricing on those things were crazy. The cheapest I could find for the length that I liked was almost $20 per handle which would have been 80 bucks for knobs! When I was at target yesterday I found these perfect gold knobs for $7.99 per pack of two which put the knobs at a total of $32. Way better!

Then came the scary part! I had to figure out how to make 8 knobs be perfectly spaced and level on four different drawers. I made a template by figuring out how far from each edge I wanted each knob to be and finding the center point of that measurement. Then I took the measurement of the height of the drawer and made a hole where those two lines met.


I put painters tape across the middle of each drawer so I could see my marks and also so the holes would drill more cleanly. Then I just matched my template to the bottom corner of each drawer and marked my hole. I flipped my template for the left versus the right side so the knobs were spaced the same from each outside edge.


I was totally winging this! I'd seen templates for cabinet doors but I couldn't find a template for dresser drawers so I just crossed my fingers that the end result would be right. I did check my dots with a level before drilling the holes so I would at least know they'd be level from side to side.

The stupid paint!! I pulled off my painters tape and it took large chips of paint with it. So frustrating!


The only bright spot about this paint is that it touches up well. You can still see it a little in this picture below but now that it's dry you can't see the touch up spots at all. The paint is so streaky though! I'm going to poly it so I don't have to worry about anymore chipping or worry about tip toeing around it when we put things on it.


Here it is with all the knobs in place! My template worked and I am super happy with the results. It dressed it up so much and finally made it look finished. A coat of poly and we're calling this one done!


Monday, August 22, 2016

Come back Rio!!!

Is anyone else totally depressed the Olympics are over? Also, why in the world is there not more coverage? If it was up to me, every single channel should be all Olympics all the time for those two straight weeks. Why is it only on about 4 channels???

Derrick and I really enjoyed the beach volleyball, swimming, gymnastics, track and field, and of course the equestrian. We also learned a little bit about the fencing and handball. We've decided my best shot at making the Olympics would be the modern pentathalon so training starts today! Tokyo here I come!


Friday, August 19, 2016

New Kitchen Bling

When we bought our house, the kitchen faucet came up in the inspection report as having issues. The handle was loose and would occasionally cause an odd side spray. We had the sellers tighten it up for us and we put it on the list for future replacement. 


Recently the handle really loosened up again and it was hard to turn the sink completely off so it was left dripping more often than not. Rather then fix it again we decided to go ahead and replace it with something that wasn't broken but that also had a bit more style then the basic builder grade we had.


I was ready! I watched several youtube videos and read several tutorials on how to replace a faucet. Easy as pie...anyone can do it! I cleared out under the sink and got to work.


Then I panicked. Water started coming out where I didn't think it should and I was worried I would snap a pipe trying to loosen one of the bolts. I shut the water off and called in a plumber. He came out, laughed at me, and had it done in about 30 minutes.


The new faucet is large and in charge! It makes a big difference and turns off like a dream. The head of the nozzle pulls down to become a sprayer so we plugged up the extra hole in the granite to the right. We're planning on installing an instant hot water spout there in the near future. Instant oatmeal and hot chocolate! So fancy!


The head switches between a normal flow and a shower flow...but it even has a button that makes the water pressure better. I don't know exactly why that is important but it's a cool feature I guess. The head is also magnetic so it pops right into place when you're done using the sprayer function. It's the little things!


Thanks for all of the support, messages, cards, flowers, and texts over the last week. It was a tough week but we're doing really well and feeling so much love! Derrick's taken the end of the week off to stay at home and regroup and it's been nice to have him home during the day. It was bittersweet with the sweet being able to spend a lot of time with his family, hang out with Joel for a week, and meet new baby Jesse earlier than expected. I'm glad to be back to the blog and settling back into normal again.